This page shows the mounting of the
Jollylook Square Pinhole Camera from their DIY kit. For the resulting camera, please look at the main page.
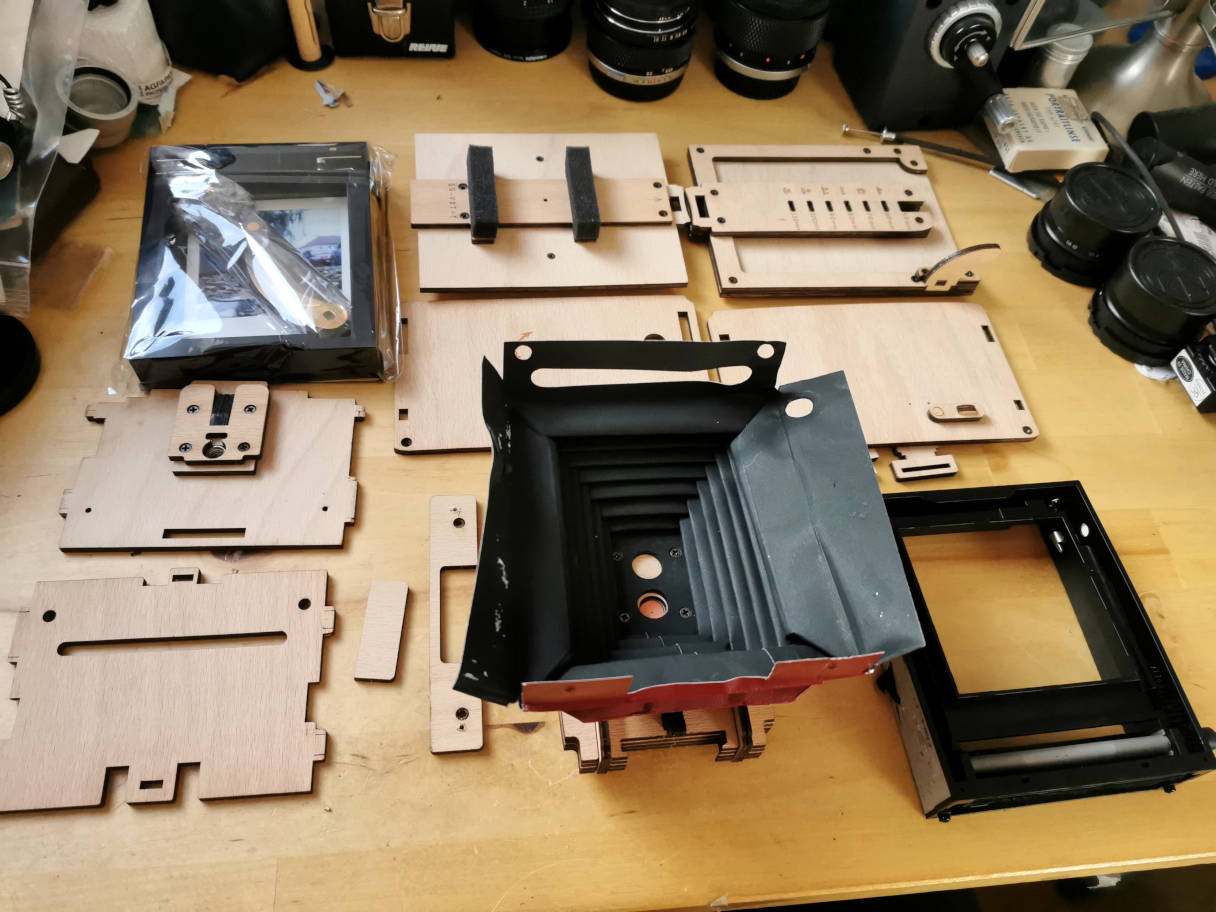
Some pictures of the kit:
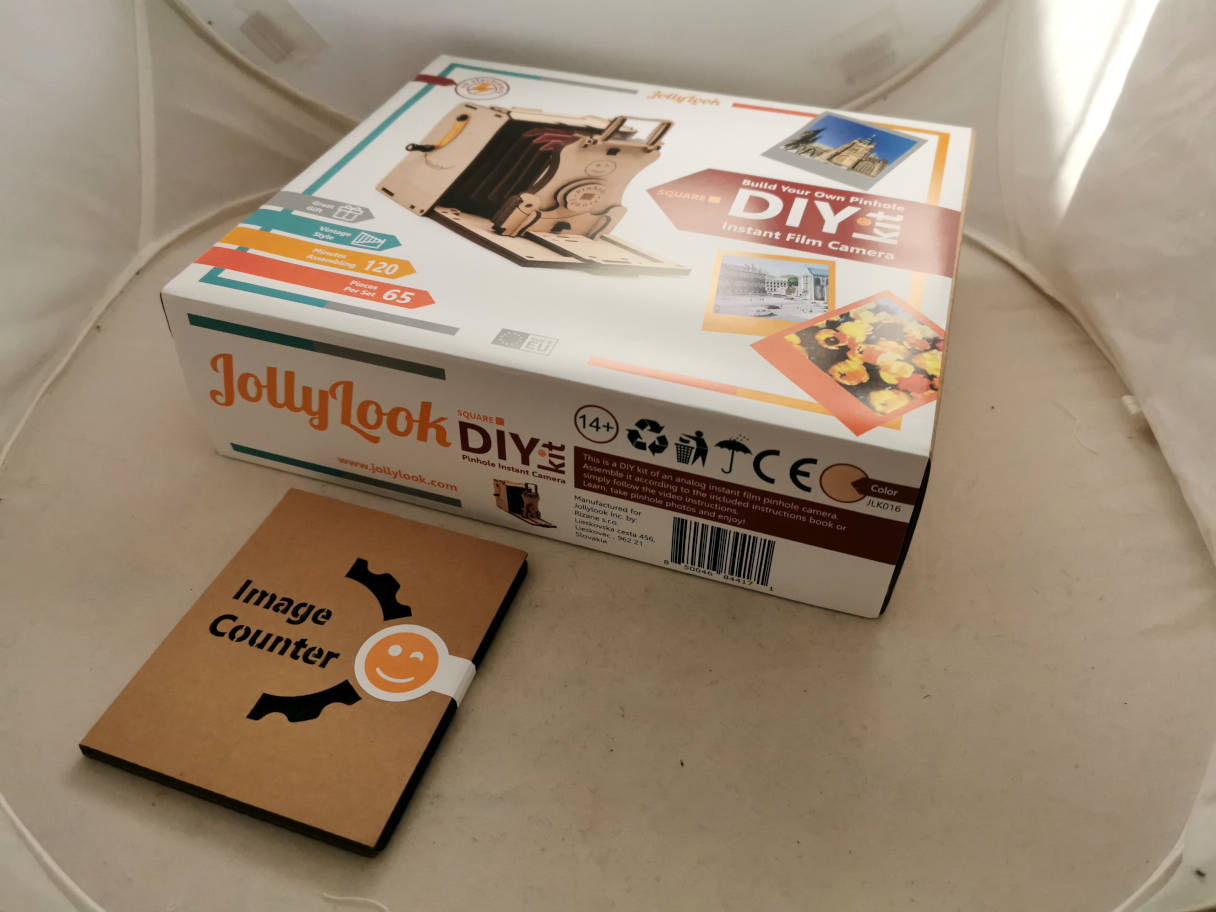
The
pledge from Kickstarter...
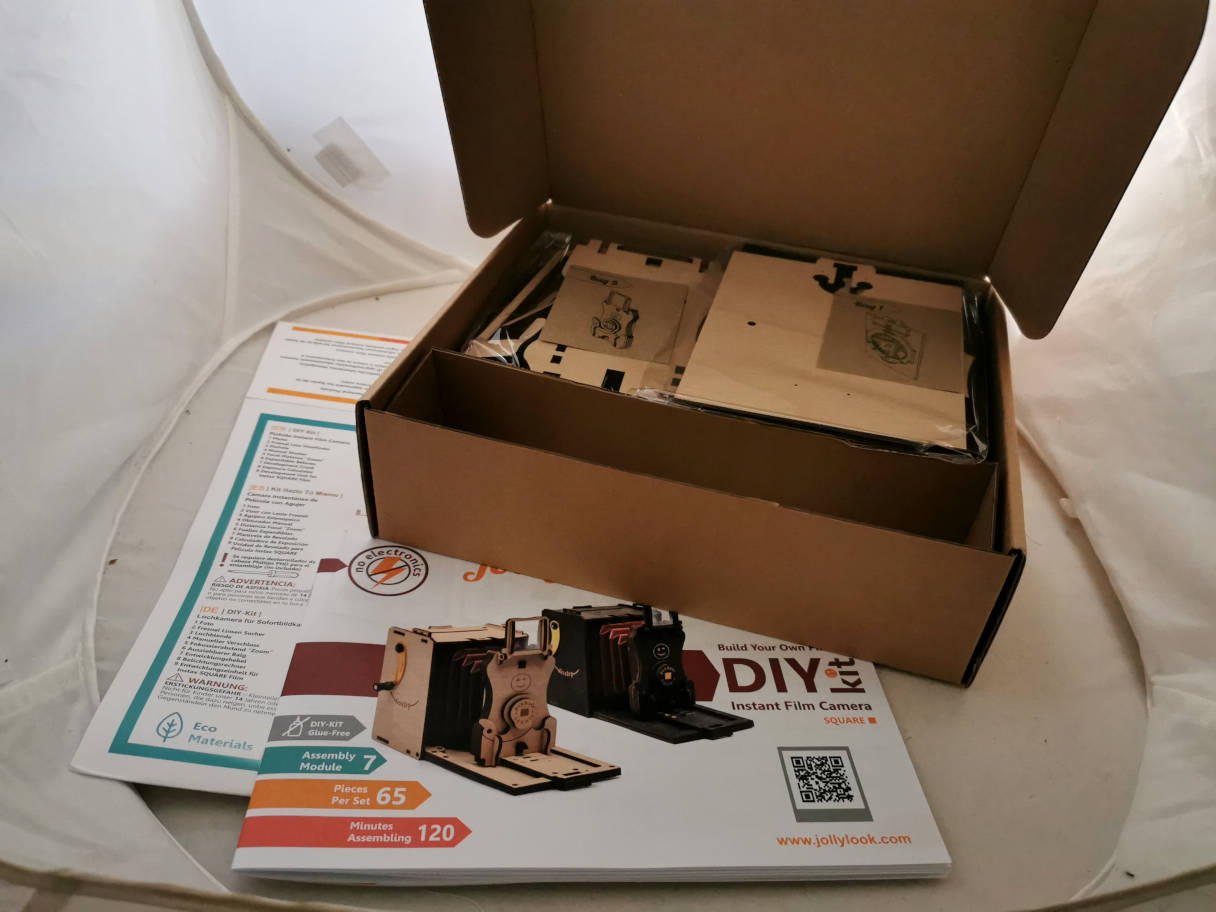
...in a nice box with a manual...
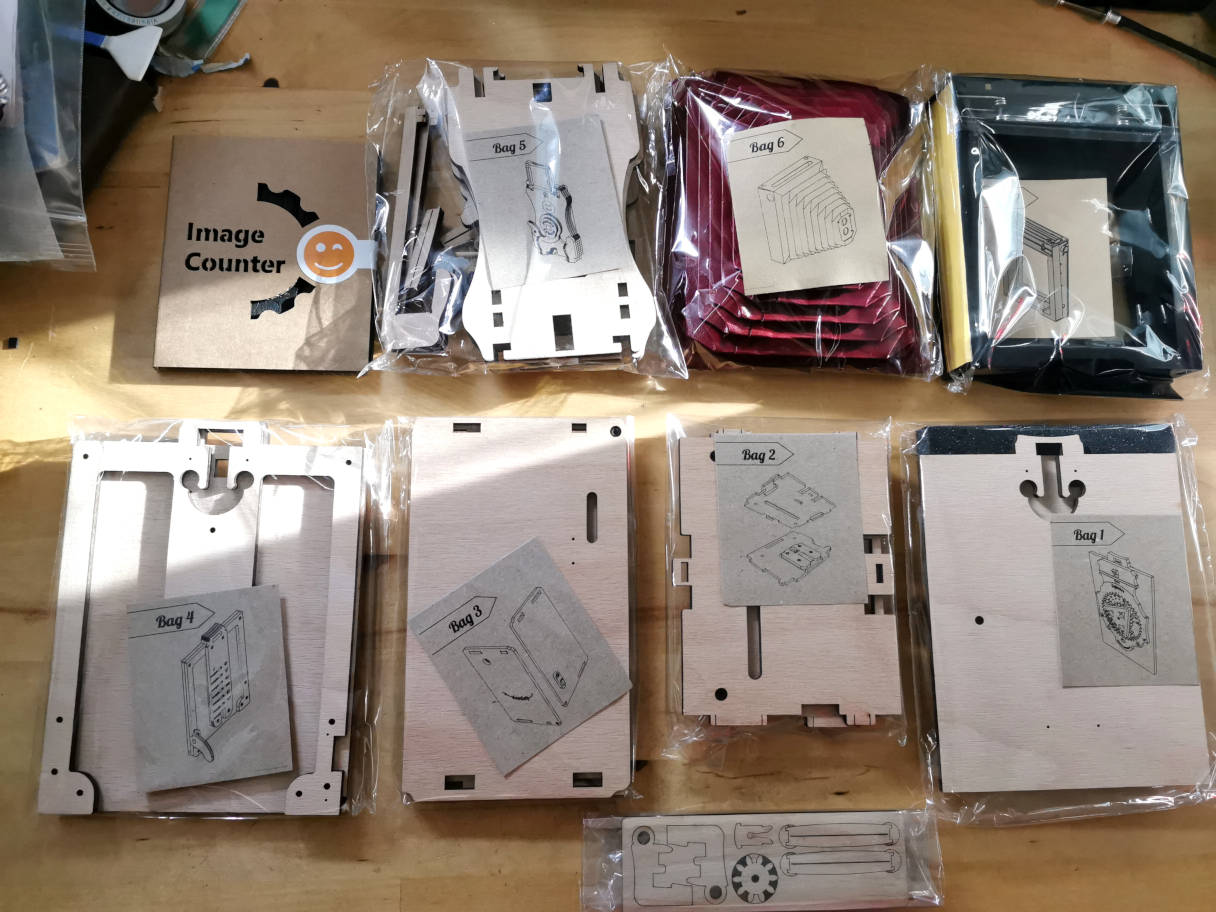
...divided into 7 steps and all nicely packed.
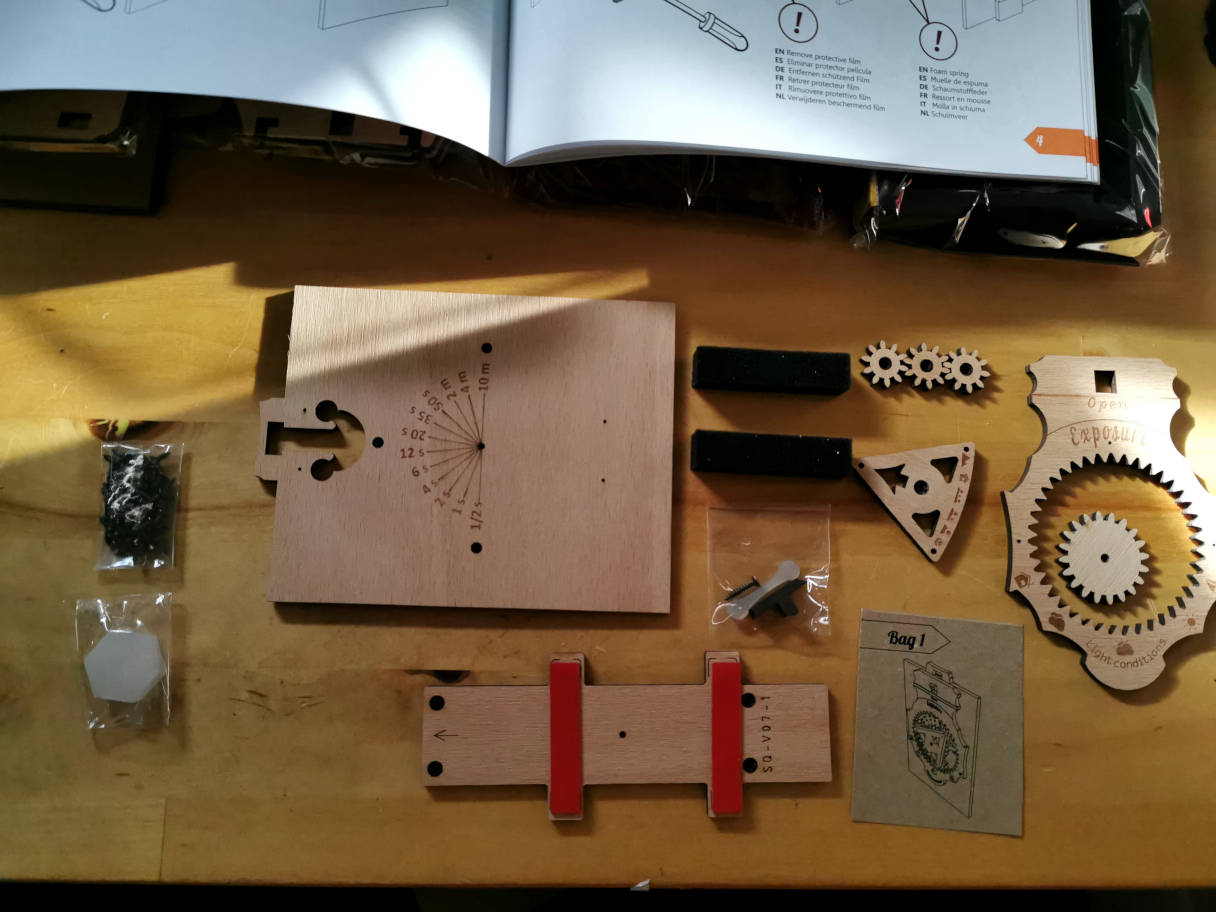
Bag
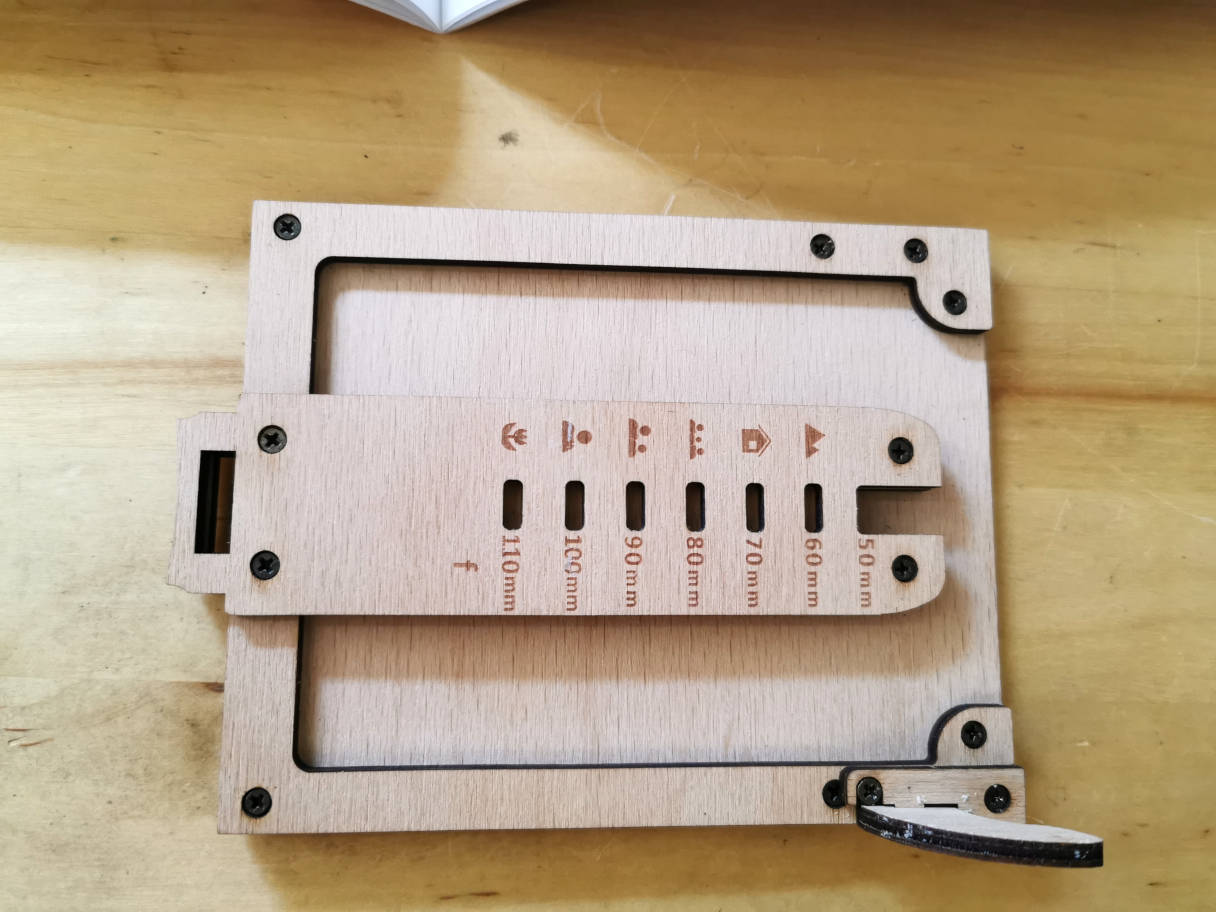
1. Back flap with exposure calculator. To the left the standard screws
and a piece of wax. All wooden pieces that move against each other
should be nicely waxed, as the wheels of the calculator.
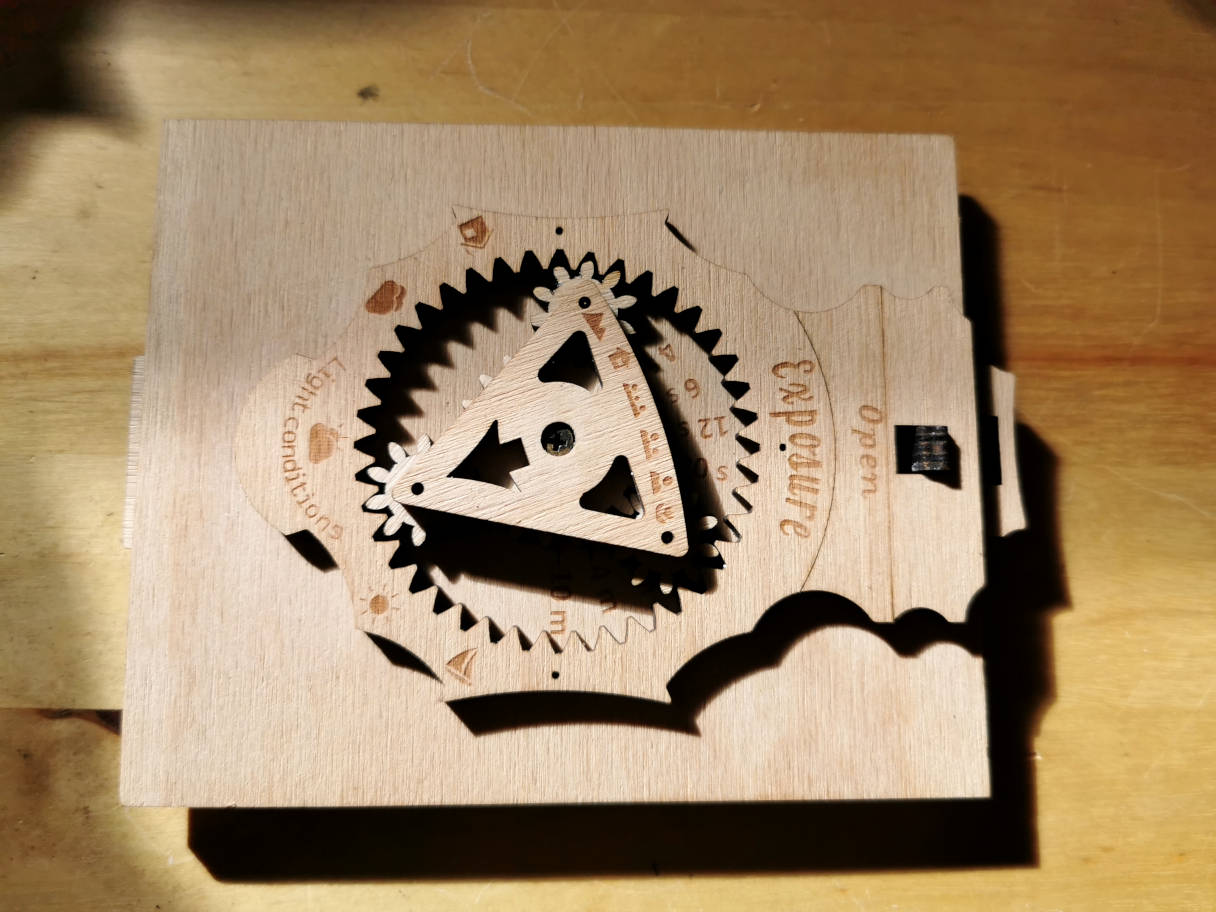
Calculator mounted. My first waxing wasn't enough, after a second waxing it moves easily.
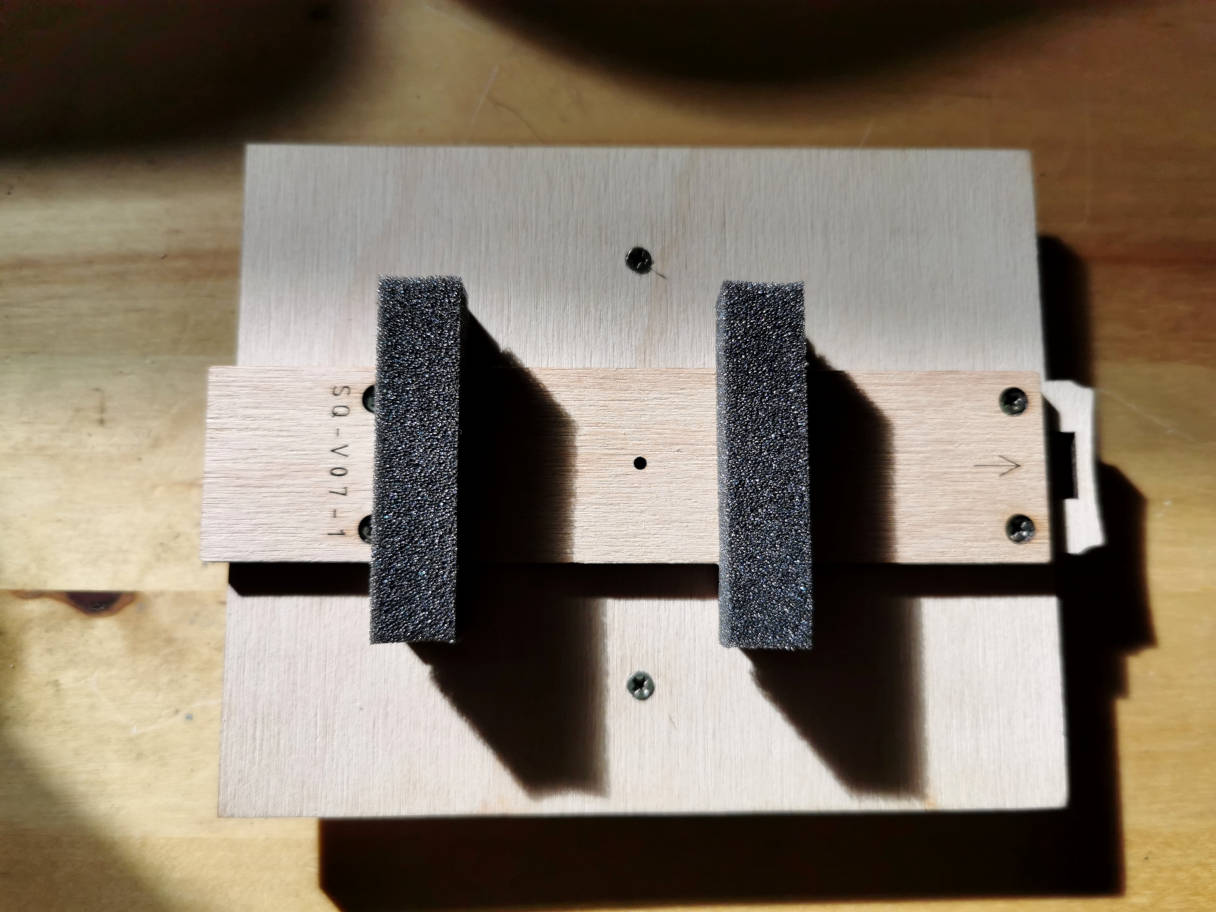
2 pieces of foam give pressure on the photos in the pack.
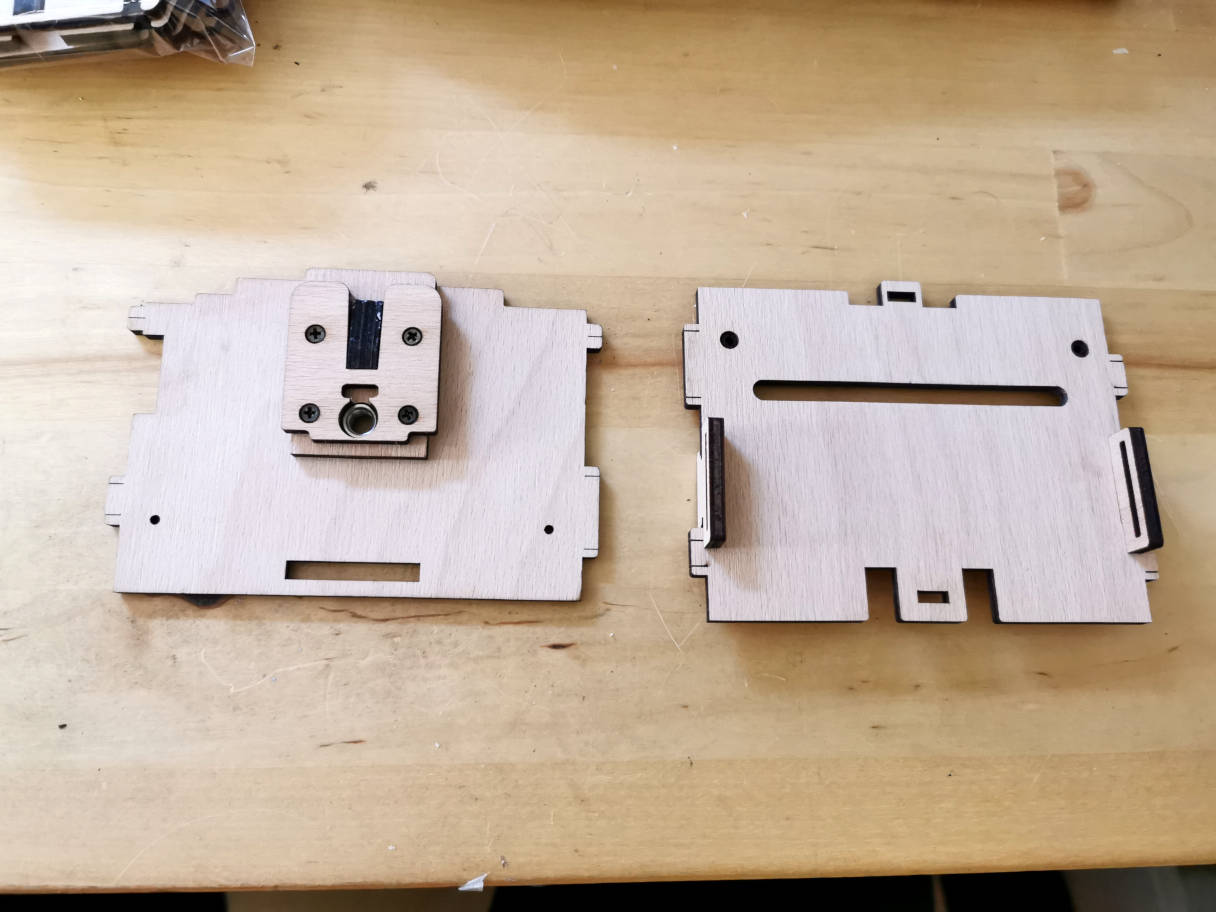
Bag 2. Camera top and bottom. There is a coin provided to screw the tripod socket in. Handle with care, it should sit straight.
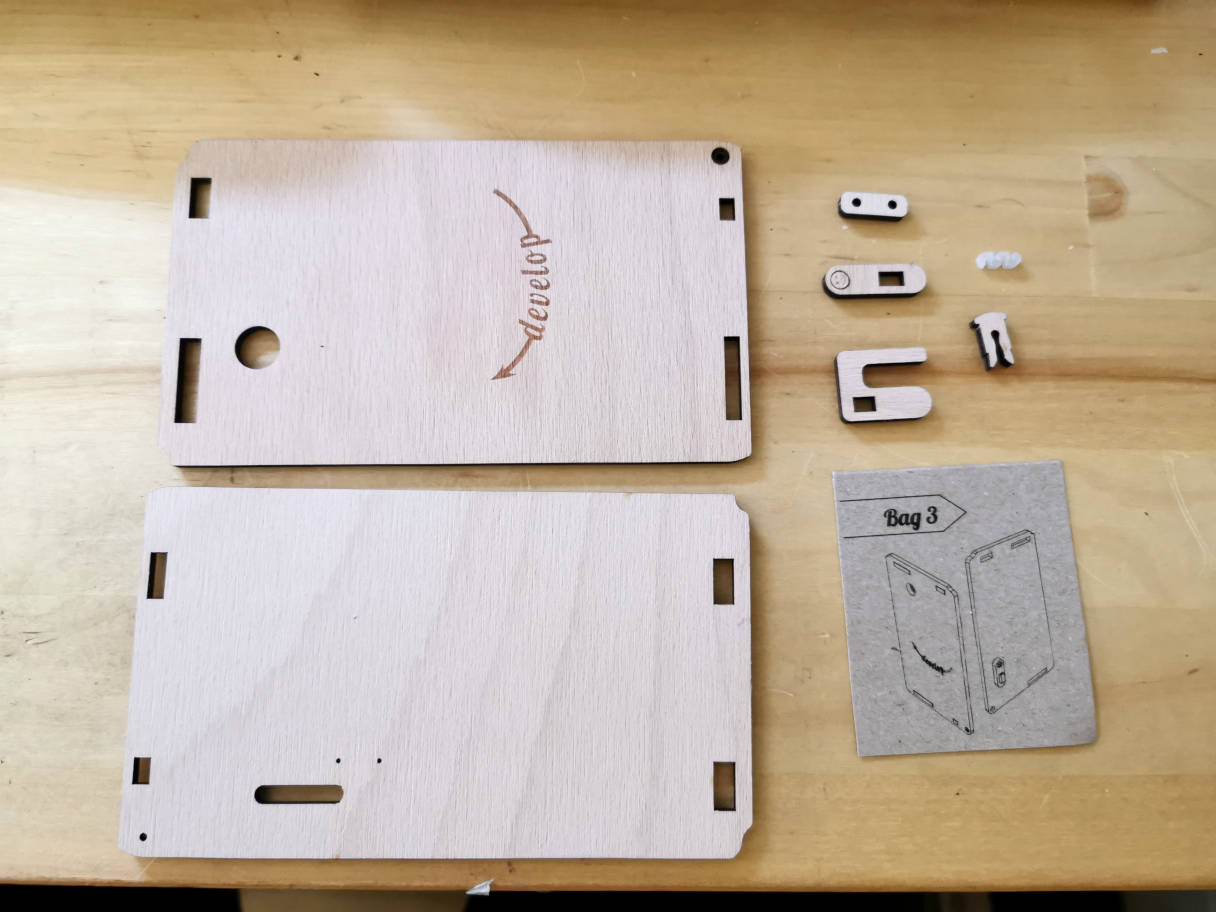
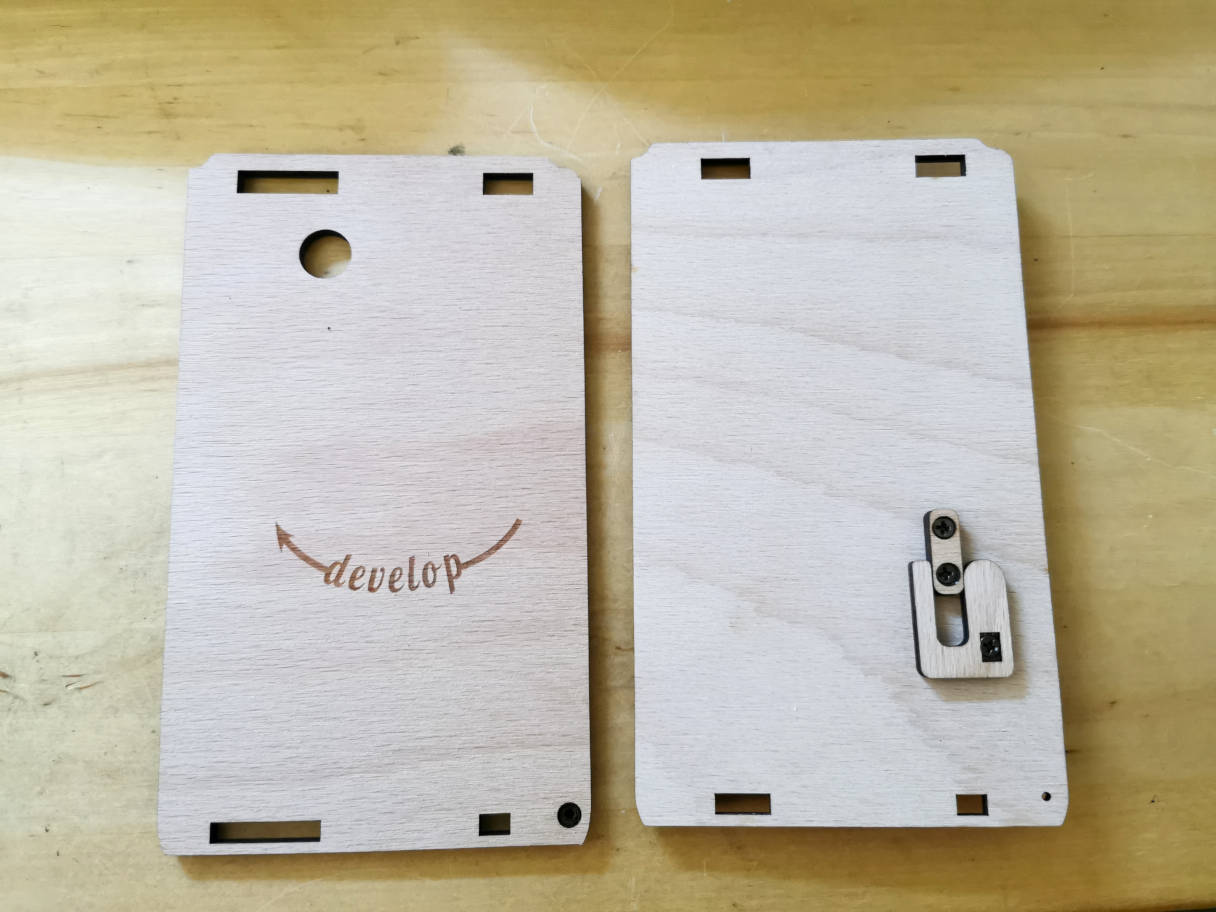
Bag 3. Both side panels.
Pieces mounted.
Bag 4. Front flap/bed. Attention! there are 2 longer screws. Put them aside for the last step.
All parts have to be aligned carefully, otherwise the flap will not fold.
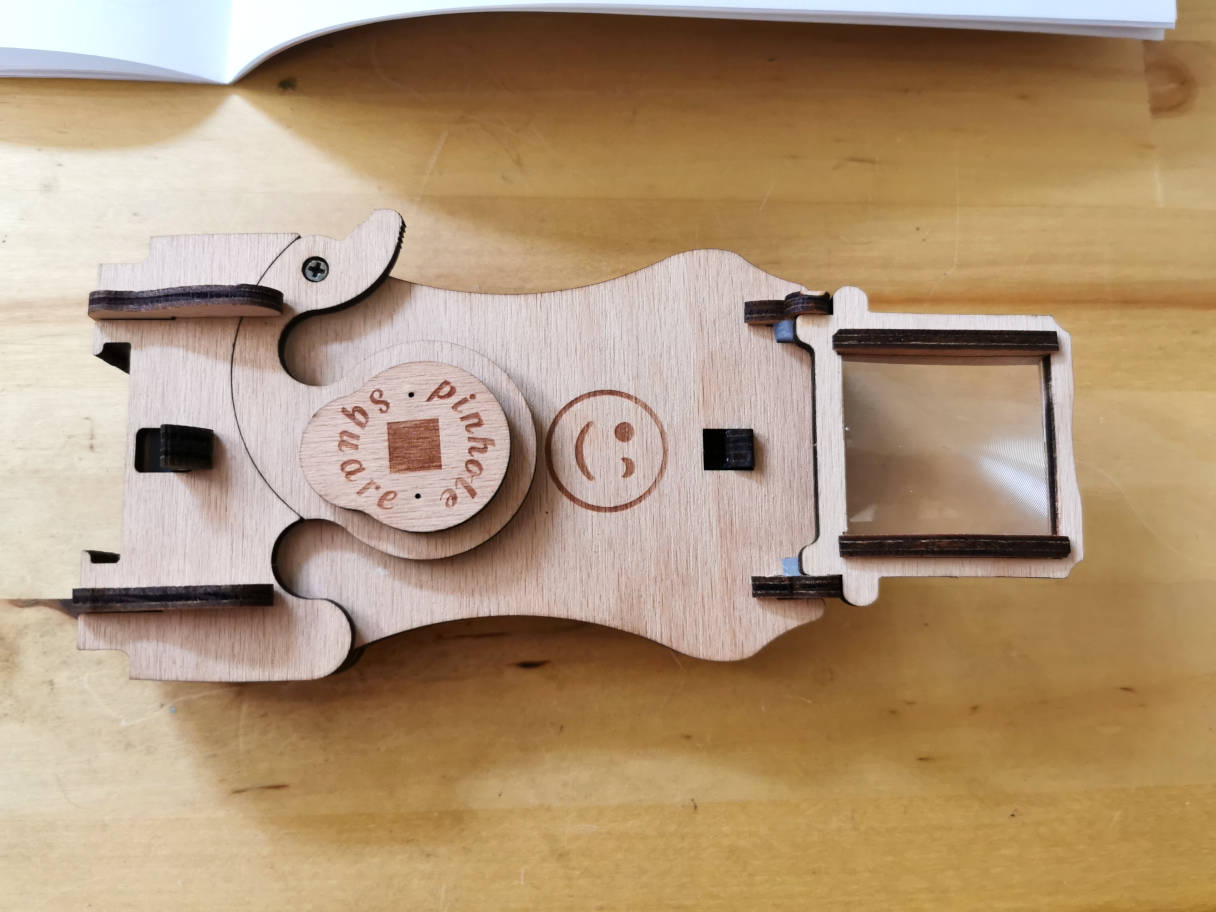
Bag 5. Front standard with shutter and viewer,
All mounted, seen from front.
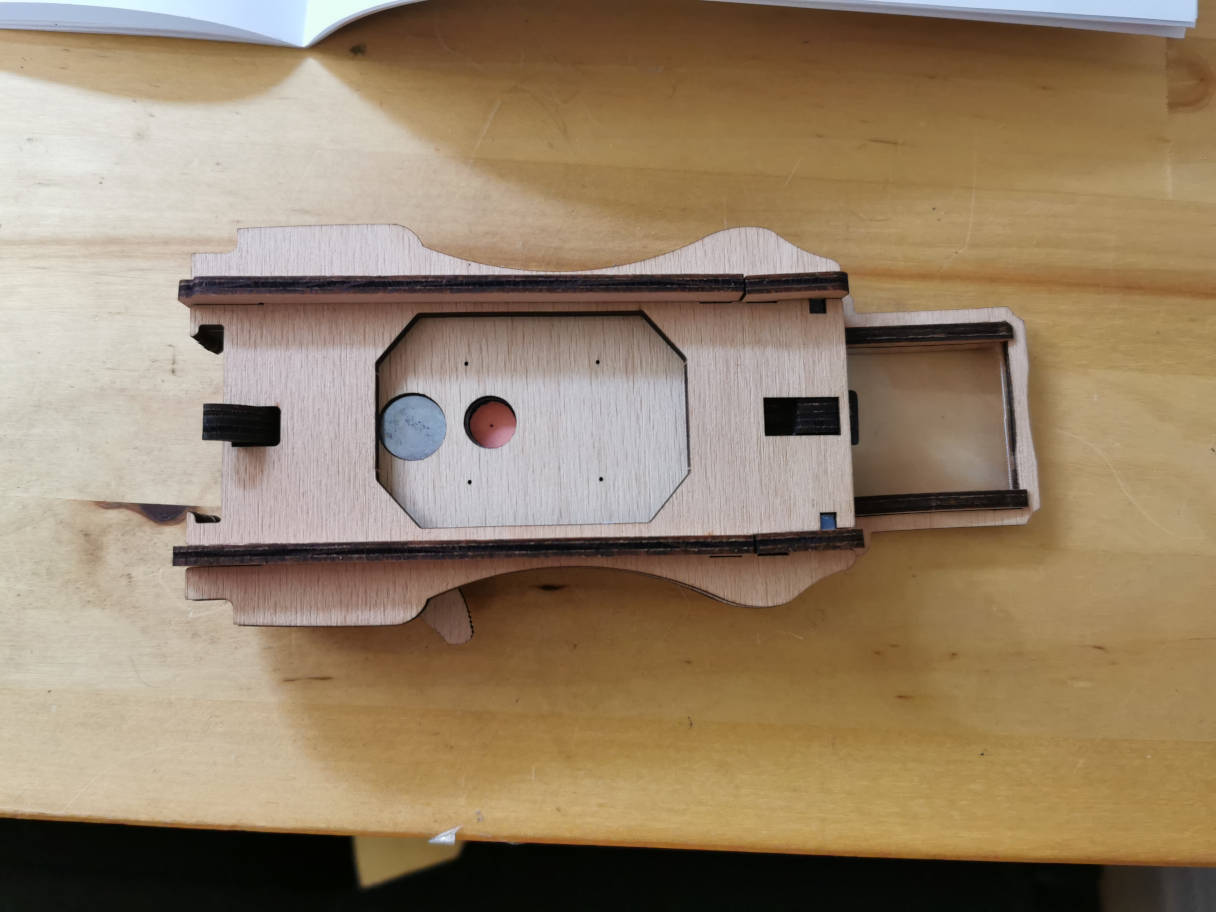
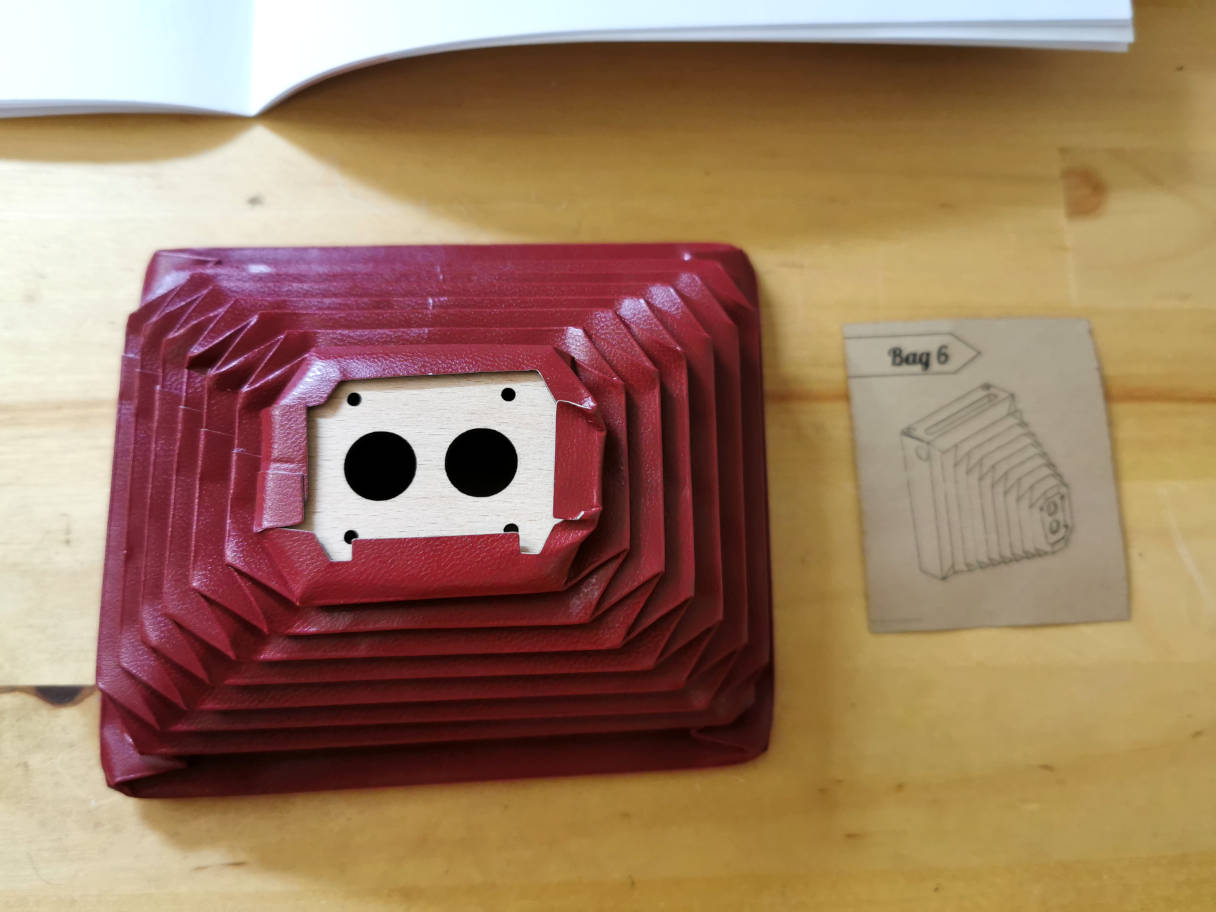
Seen from the inside. Bag 6. Bellows,
nicely made. The wooden plate has to be screwed to the inside of the
front standard, ejection slot must be up. The screwholes have to be
unobstructed.
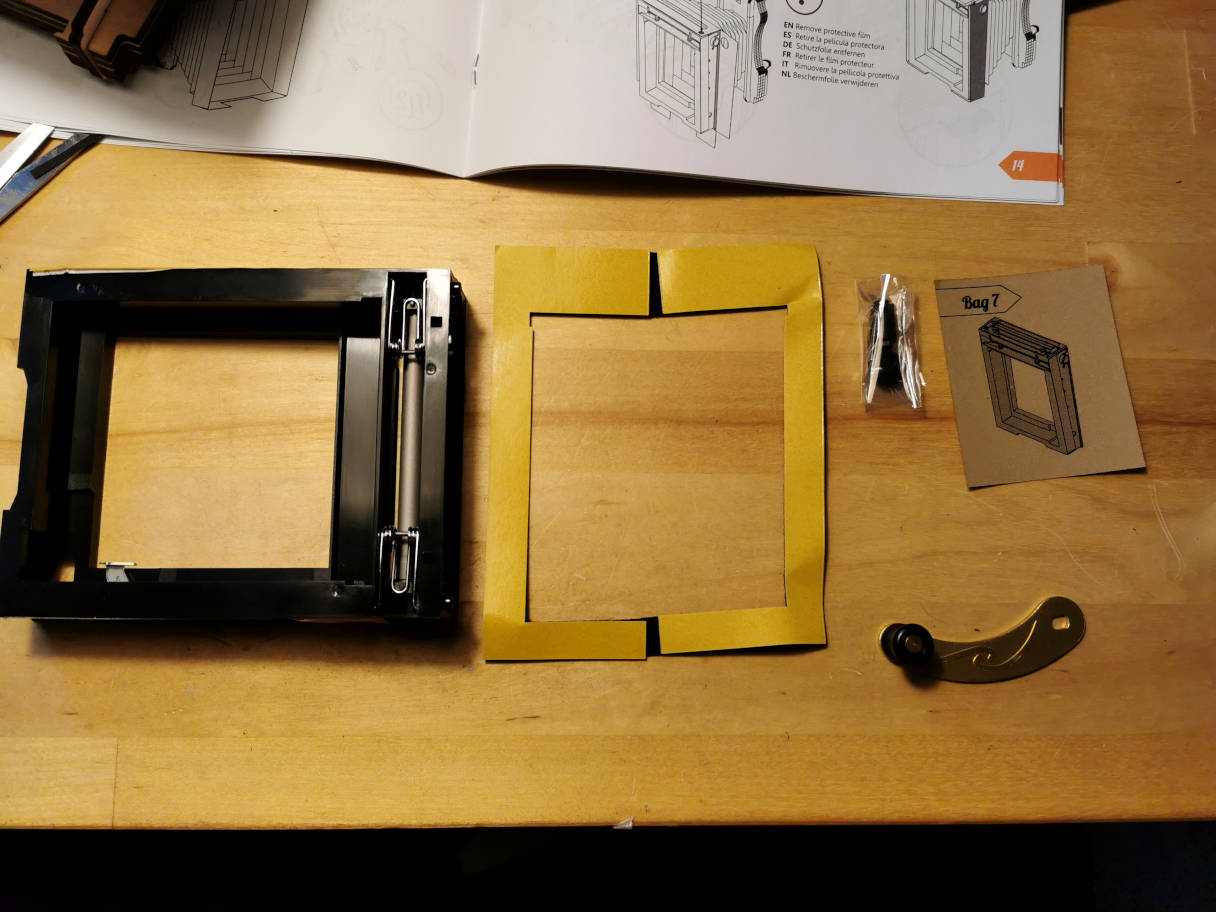
Bag 7. Development unit. There should have been 2 wooden pieces to mount to the frame.
So here the mounting ended. I contacted Jollylook and they sent me the
missing parts quite quickly. All parts arrived, I mounted all the parts
together.
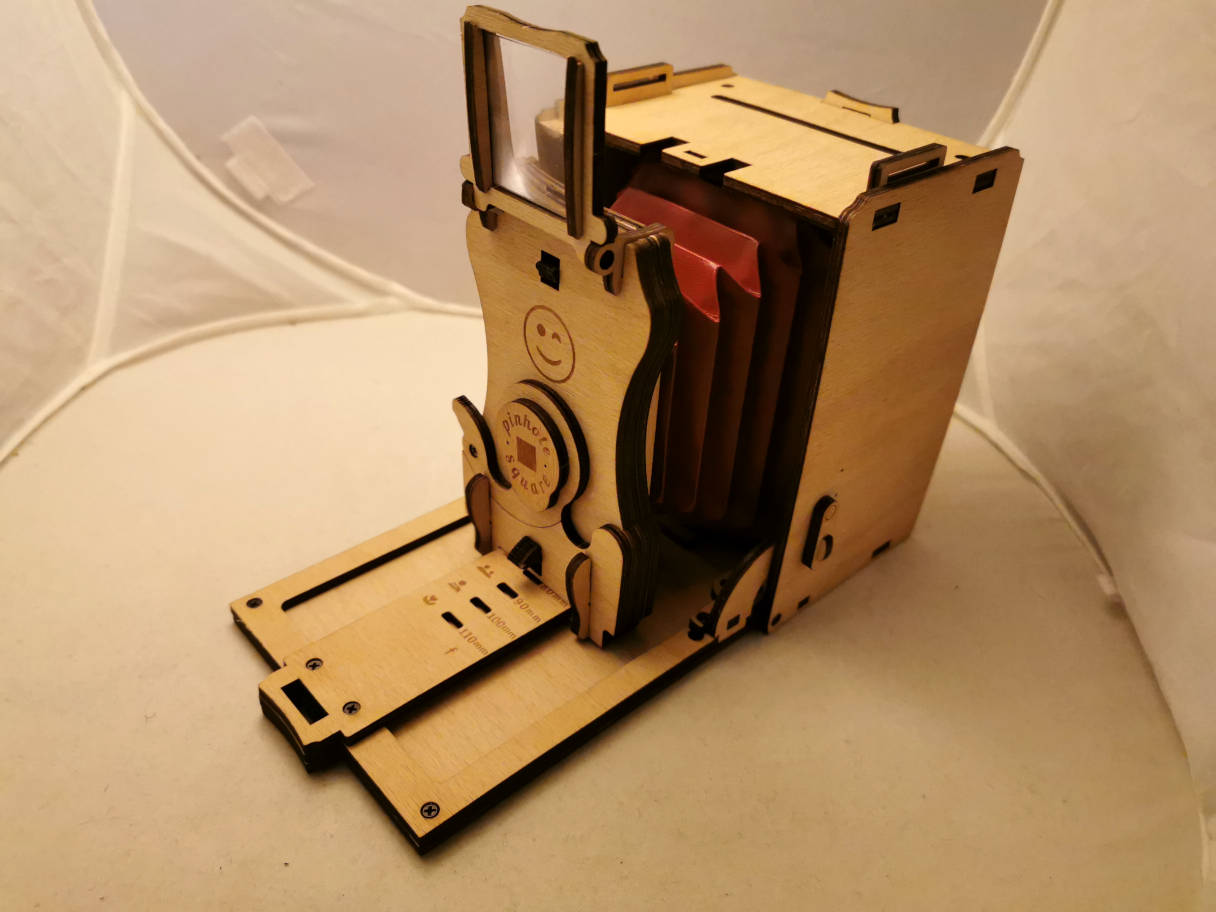
Camera mounted.
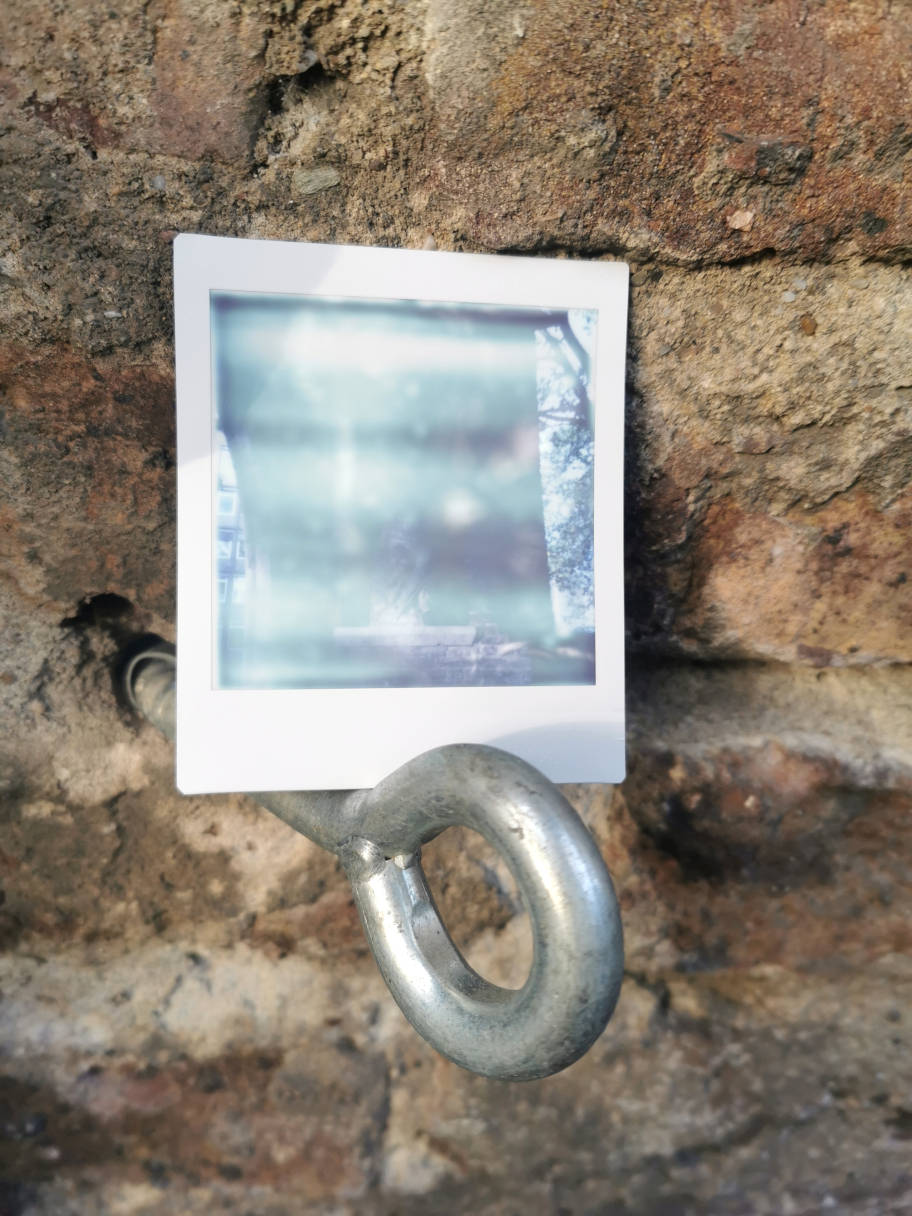
I made some first photos. The development rollers were no good.
A
photo, about 5 minutes after ejection. A part of the white bars will
disappear after an hour or two. But there are still white bars from bad
rollers.
So I contacted Jollylook again. Again they were quick and very kind,
they excused and decided to send me a tested unit. And they asked me to
sent the bad unit back for inspection. I agreed. The new unit arrived
within a few days.
The new unit and everything taken apart.
Remounting the camera wasn't a problem. As said above, please look athe main camera page for the camera itself.
The kit is well made, everything is provided and the description is
fine. The screws are tiny and the plywood is quite hard, so you need a
good cross-head screwdriver with a tiny head that lets you apply some
force to the screws. Although I am an experienced tinkerer, it took me
much longer than the 2 hours they presume. The result is very
satisfying.
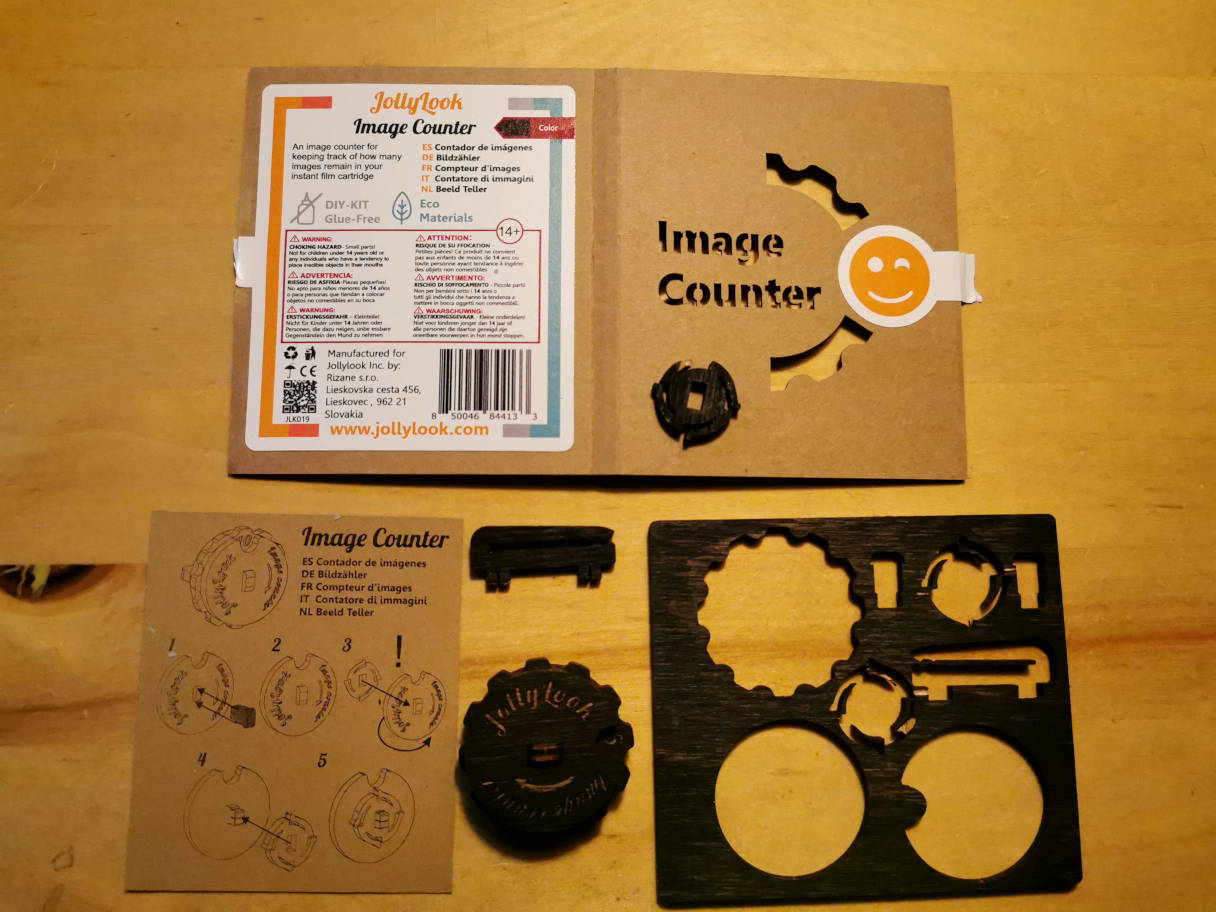
The camera has no counter. There was an additional counter at the price
of 5€ which I had added to the pledge. I thought that the counter could
be fixed to the camera housing. I got it wrong, it's a separate part
with a clip.
The counter kit. As you can see, there are fragile parts, finely cut.
So they made 2 of the tiny wheels and 2 of the tiny clips that hold
everything together. One tiny wheel broke when I tried to get it out
(cautiously) and both of the clips did not hold either. I glued the
broken parts of the clip and secured it with a nail. Think of waxing
all moving parts.
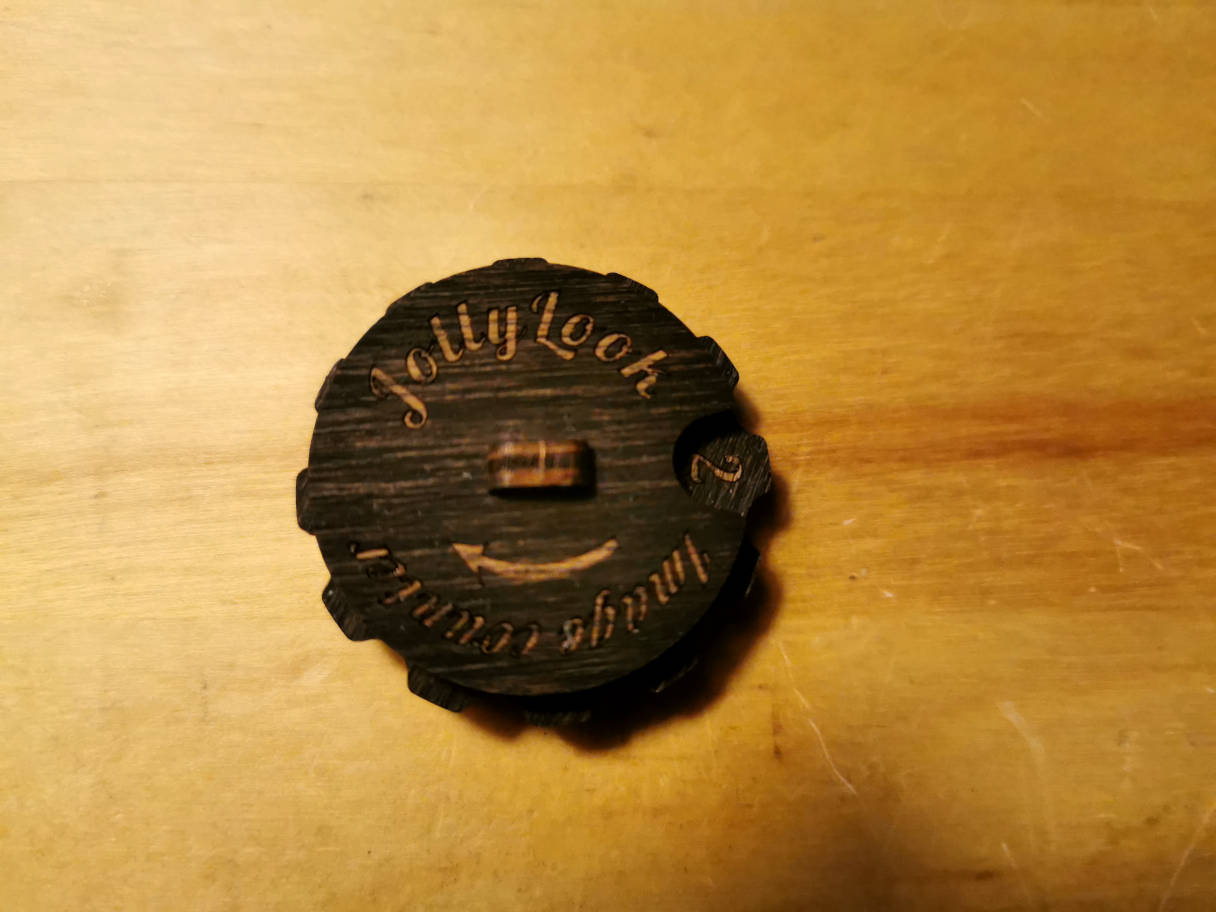
There is a bigger clip that can be fixed so that you can clip the
counter to a shirt pocket. As I don't wear shirts with pockets, I do
not use the clip.
The counter counts backwards, so you know the number of photos left.
But you have to think to move it after ejection. The thing is just a
gadget. A counter on the camera next to the handle would be much better.